

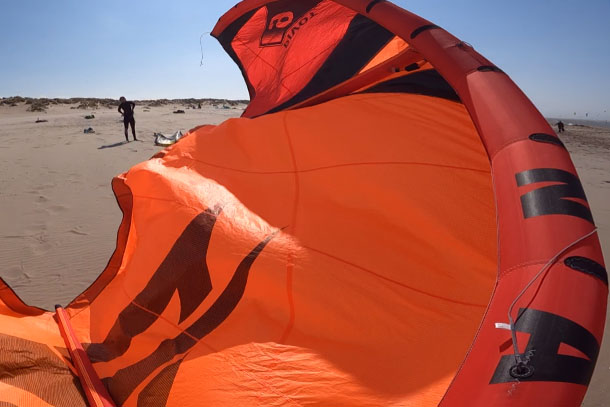
Your kite has a leak or a small hole in your kite. Don't panic because a small kite repair can be done well without the kite deteriorating. In this blog we explain how you can repair small holes and / or tears in your kite yourself. This of course also applies to a wingsurf or wingfoil wing.
Small versus large kite repair?
If you have a big problem. For example, a valve of a kite that is leaking and needs to be replaced, a complete bladder that needs to be replaced or a 50 cm tear in your kite, then there are the kite repair experts. They can professionally repair your kite. In addition, repairers also offer to replace, shorten or extend lines, replace complete lines on the kite ('bridle' lines) or carry out damage assessments for insurance companies. look at it interview with kite expert Gerrit Renoij about that.
Kite repair in 7 steps
Time required: 20 minutes
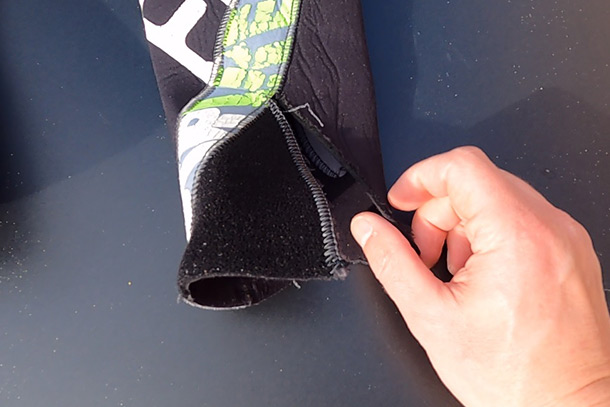
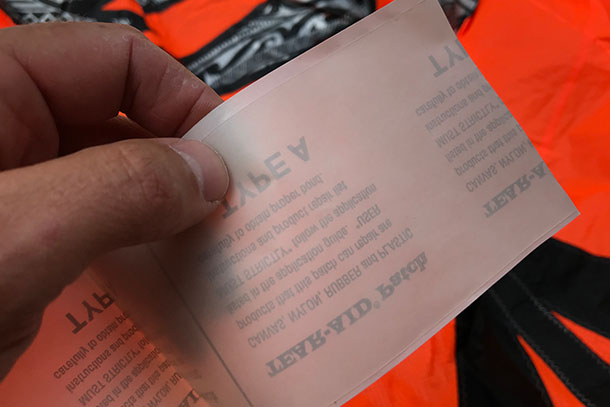
You can easily fix small holes or tears in the cloth or of your kite. You do need special equipment for this. For the canvas, this can be done with spinnaker tape or other suitable material. This is with almost every kitesurf shop for sale. Such tape or patches that can be cut to size are strong and waterproof. So your kite is completely in order after sticking.
- Preparing material and cleaning kite
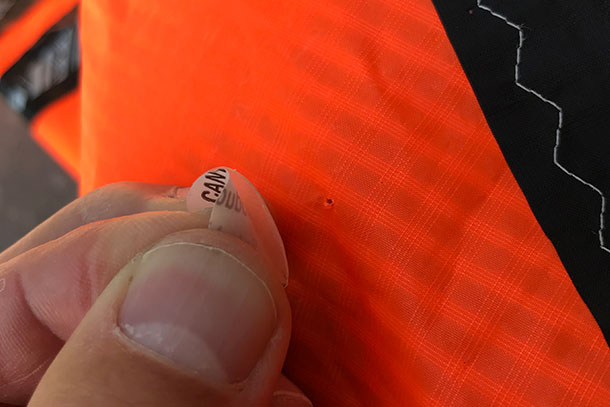
Make sure you have all the equipment needed for the kite repair. This concerns in any case repair material and scissors. Because you apply repair material to both the inside and outside of the cloth, it is intended that this is the same size. That is why you will have to mark and cut the size. Also make sure you clean the parts to be repaired properly. I did this with tap water and let it dry thoroughly.
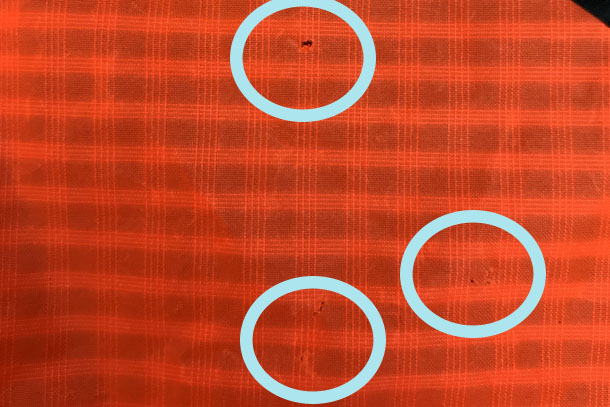
- Determining the right place(s)
Inspect the canvas of your kite well. Sometimes you see a hole, but on closer examination you can already see deep grooves, tears or thin spots in the cloth immediately next to the hole. Then immediately cover it with the same adhesive.
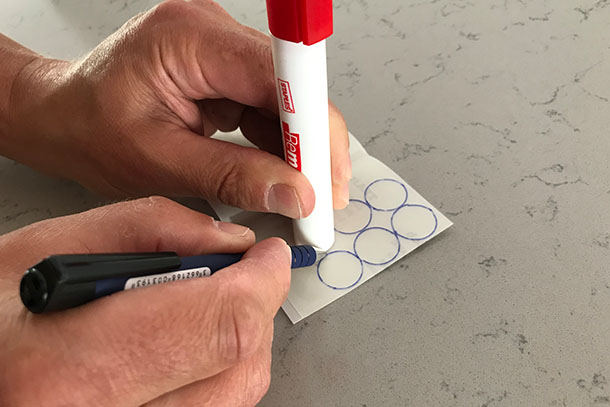
- Signing off
Sign off the stickers. Use a tool to do this properly. I used the back of a marker to cut nice circles.
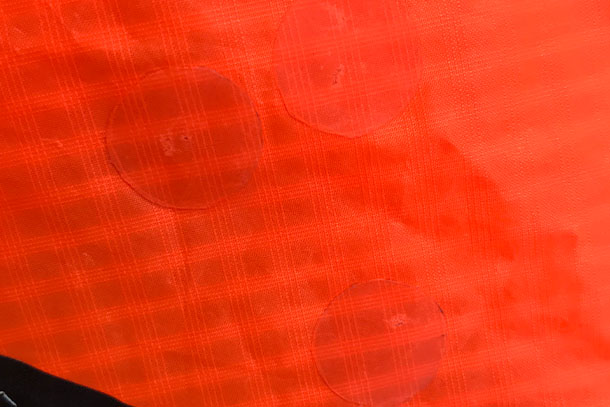
- Tape the inside and outside
You are now ready for sticking the kite. Make sure you have the canvas of the kite flat without unevenness. This way you can stick the stickers well without folding.
- Repairing a kite – Press on stickers properly
Now press the stickers well so that they adhere well to the cloth. With transparent stickers you will see that the color of the cloth comes through well through the transparent color of the stickers.
- Check after your next session
Your kite is now actually like new and perhaps stronger than before. After your next kitesurfing session, check whether the stickers are still in place. If so, then the repair of your kite has been successful.
Fix kite conclusion
We regularly read questions from kite surfers about how to repair a kite. In this blog we explained how you can easily carry out a small kite repair yourself. If you have a large tear in the kite, it is advisable to have your kite repaired by a kite repair center. look at it interview with kite expert Gerrit Renoij about that.
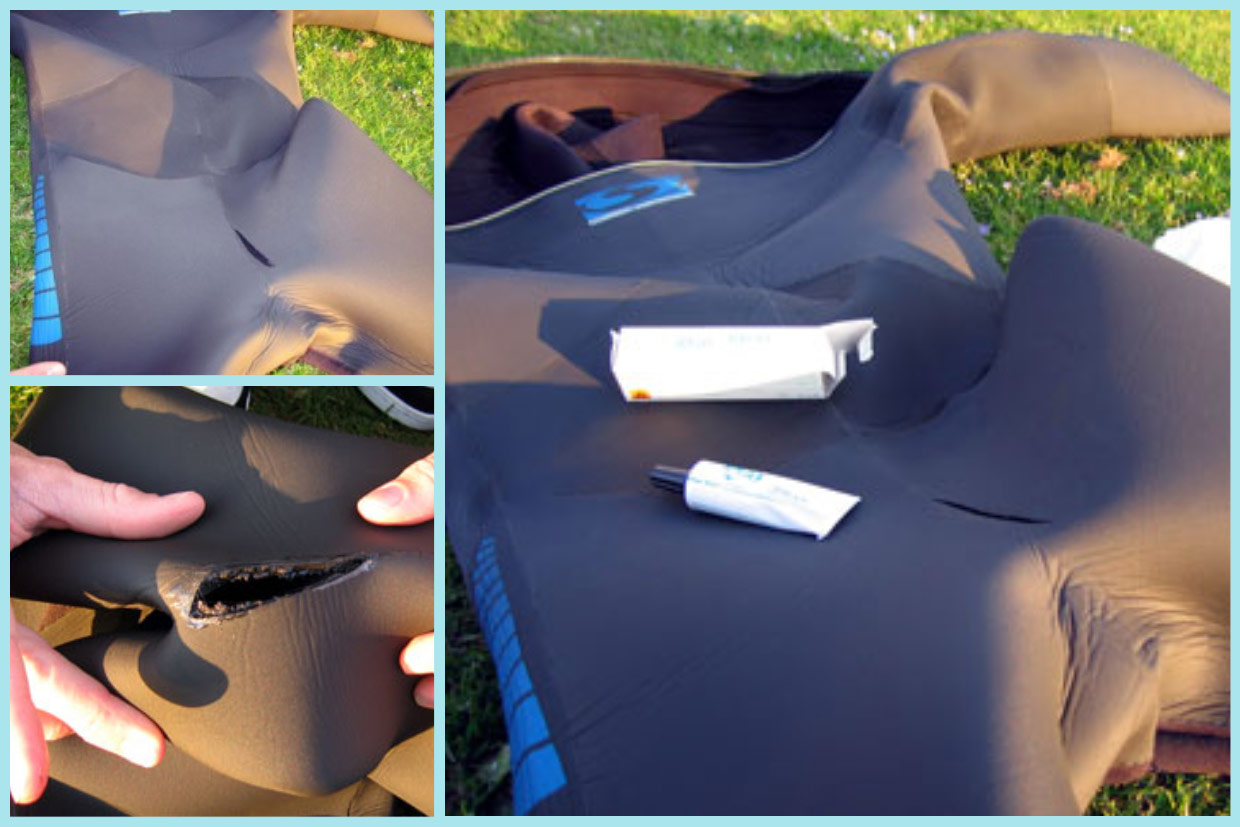
Also check out the specials about neoprene adhesives en repair tear in wetsuit.